
DIY Kitchen Table Makeover
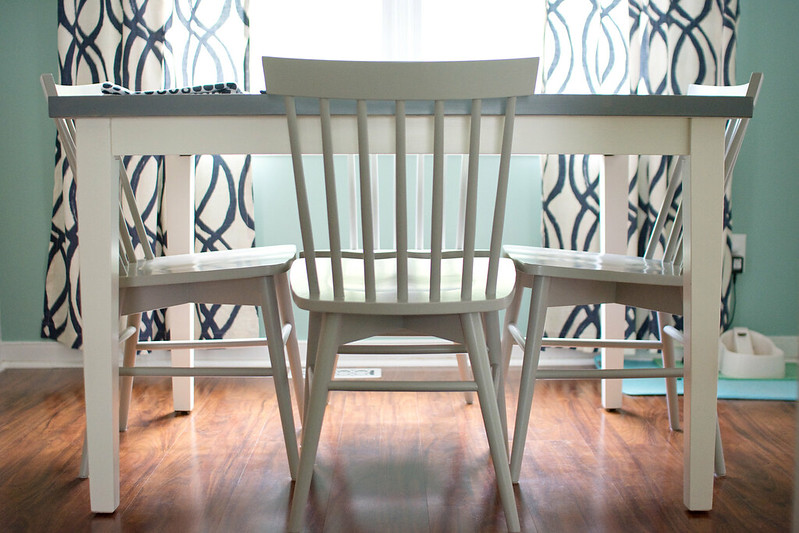
In this DIY kitchen table makeover, I added a new wooden top to our old table. Then I stained it with Rustoleum Weathered Gray and painted the legs white.
After we renovated our kitchen, I searched all over for a new table that a) matched the image I’d made up in my head and b) wouldn’t break the bank. I gave up after a while because I couldn’t find exactly what I wanted, and I eventually decided I would just figure out a way to paint or otherwise change up our existing table (there are some photos of it in the kitchen reveal). When I came across this IKEA coffee table hack on Centsational Girl, I was so excited because it was exactly what I envisioned.
The process should’ve been easy, and it would’ve been if I had started off with the right poly, but I’ll get to that later. Assembling the new tabletop was easy enough. We measured the table and decided to use different width boards to go across. We glued and then nailed them on. We added 1×2 boards to cover the sides of the table and give it a finished look. We mitered the edges and lightly sanded the corners so they wouldn’t be sharp, a necessity with a three year old running around.
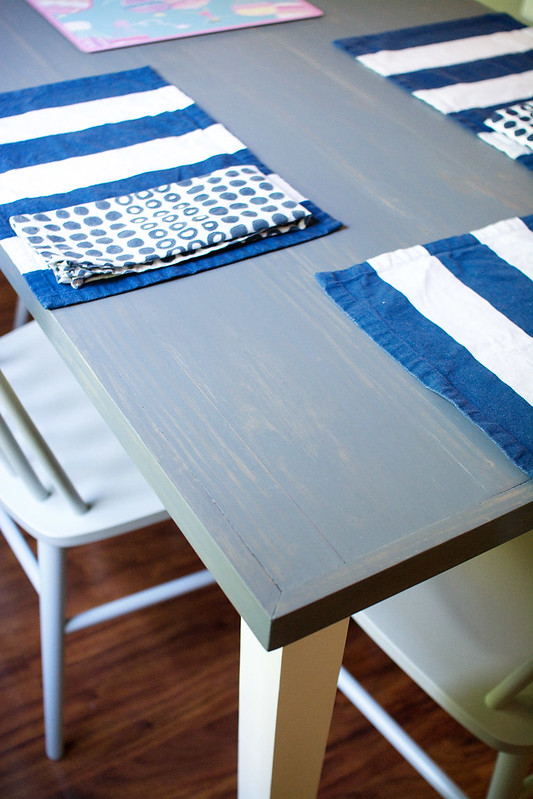
I used Rustoleum Weathered Gray, and although it was a cooler gray than I was expecting, I really love it. (I think their Driftwood color leans toward the warmer side.) I added two coats of stain, following the directions on the can. We painted the legs and sides of the table using leftover cabinet paint from the kitchen renovation. Everything was going great until it was time to add the poly.
I knew the table needed to be protected because it’s used heavily, but I was adamant about not having a glossy surface. It would totally ruin the weathered-ish look I was going for. I ended up with Rustoleum’s matte soft-touch poly, and, long story short, I hated it. Even though I followed the directions exactly (not to mention I’ve used poly numerous times), the poly peeled up even with light use. Brushing crumbs off the table left marks in the poly. Barely touching it with my fingernails caused it to peel up. It was awful.
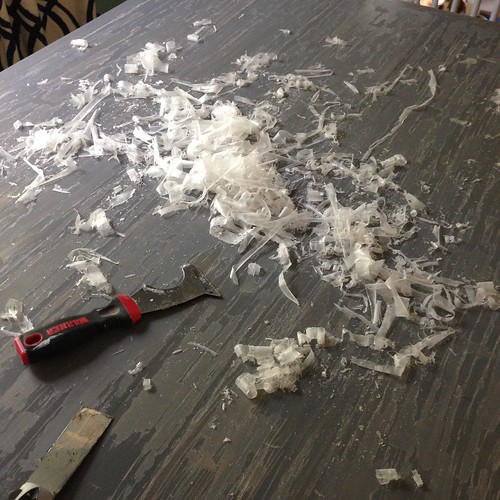
Certain I did something wrong, I sanded it off and started over, stain and everything. The same thing happened, at which point I was angry at myself for using the same poly and angry that I assumed it was my fault and frustrated that I had to start over. Again. I tried a different matte poly, Varathane, which was basically the same as the Rustoleum (they’re owned by the same company, so I should’ve known better than to use it). Different can of poly, same poor results. This time, I was smart enough to use a multi-tool to scrape off the poly so that I didn’t have to restain the table. It was ridiculous how easily the poly came off.
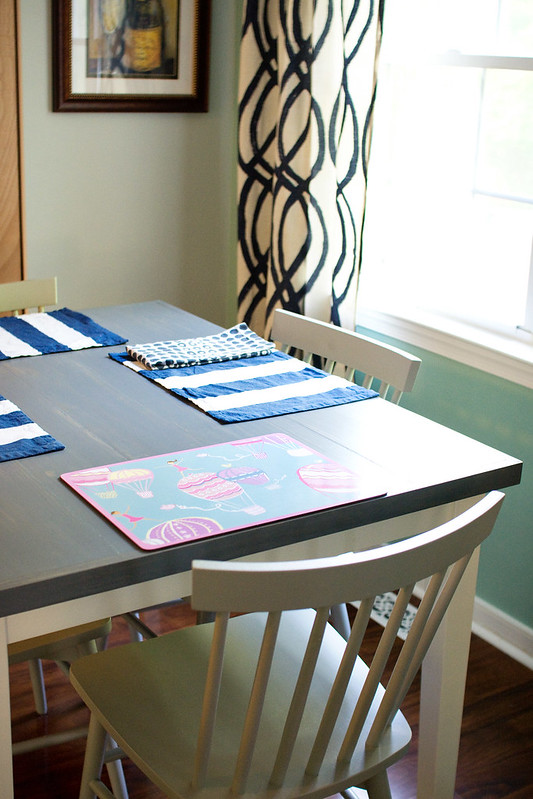
Now that I’d redone the table three times, I was over it. There’s a reason I am a DIYer, though. It’s not just that it saves money. I feel a big sense of accomplishment when I finish a project. I like that I can reuse and repurpose things instead of getting rid of them. I wasn’t going to let this DIY kitchen table makeover get the best of me! I was determined to make it work. I looked online and read what seems like hundreds of reviews for matte poly. I finally decided on General Finishes flat poly, and it has held up wonderfully (to a three year old and two cats who jump on the table despite my best efforts to get them not to).
I’m so happy with how the table turned out, even if it did take four tries to get it right. Eating together is obviously very important to us, and there’s something special knowing that the food we cooked in the kitchen we remodeled is going onto a table we updated.
I LOVE your DIY projects. I wish I had time to even consider taking on such projects. Hopefully I will as my son gets older. The table looks fabulous (even if it took 4 tries to get it right!)
Thank you so much! It’s so nice to hear that because sometimes I feel weird sharing DIY stuff here, but it’s a big part of our life (and is often kitchen/eating related anyway).
I love the end result! Kudos to you for seeing it through and getting exactly what you wanted!
I love projects like this. Nice job.