Whole Wheat Sandwich Bread
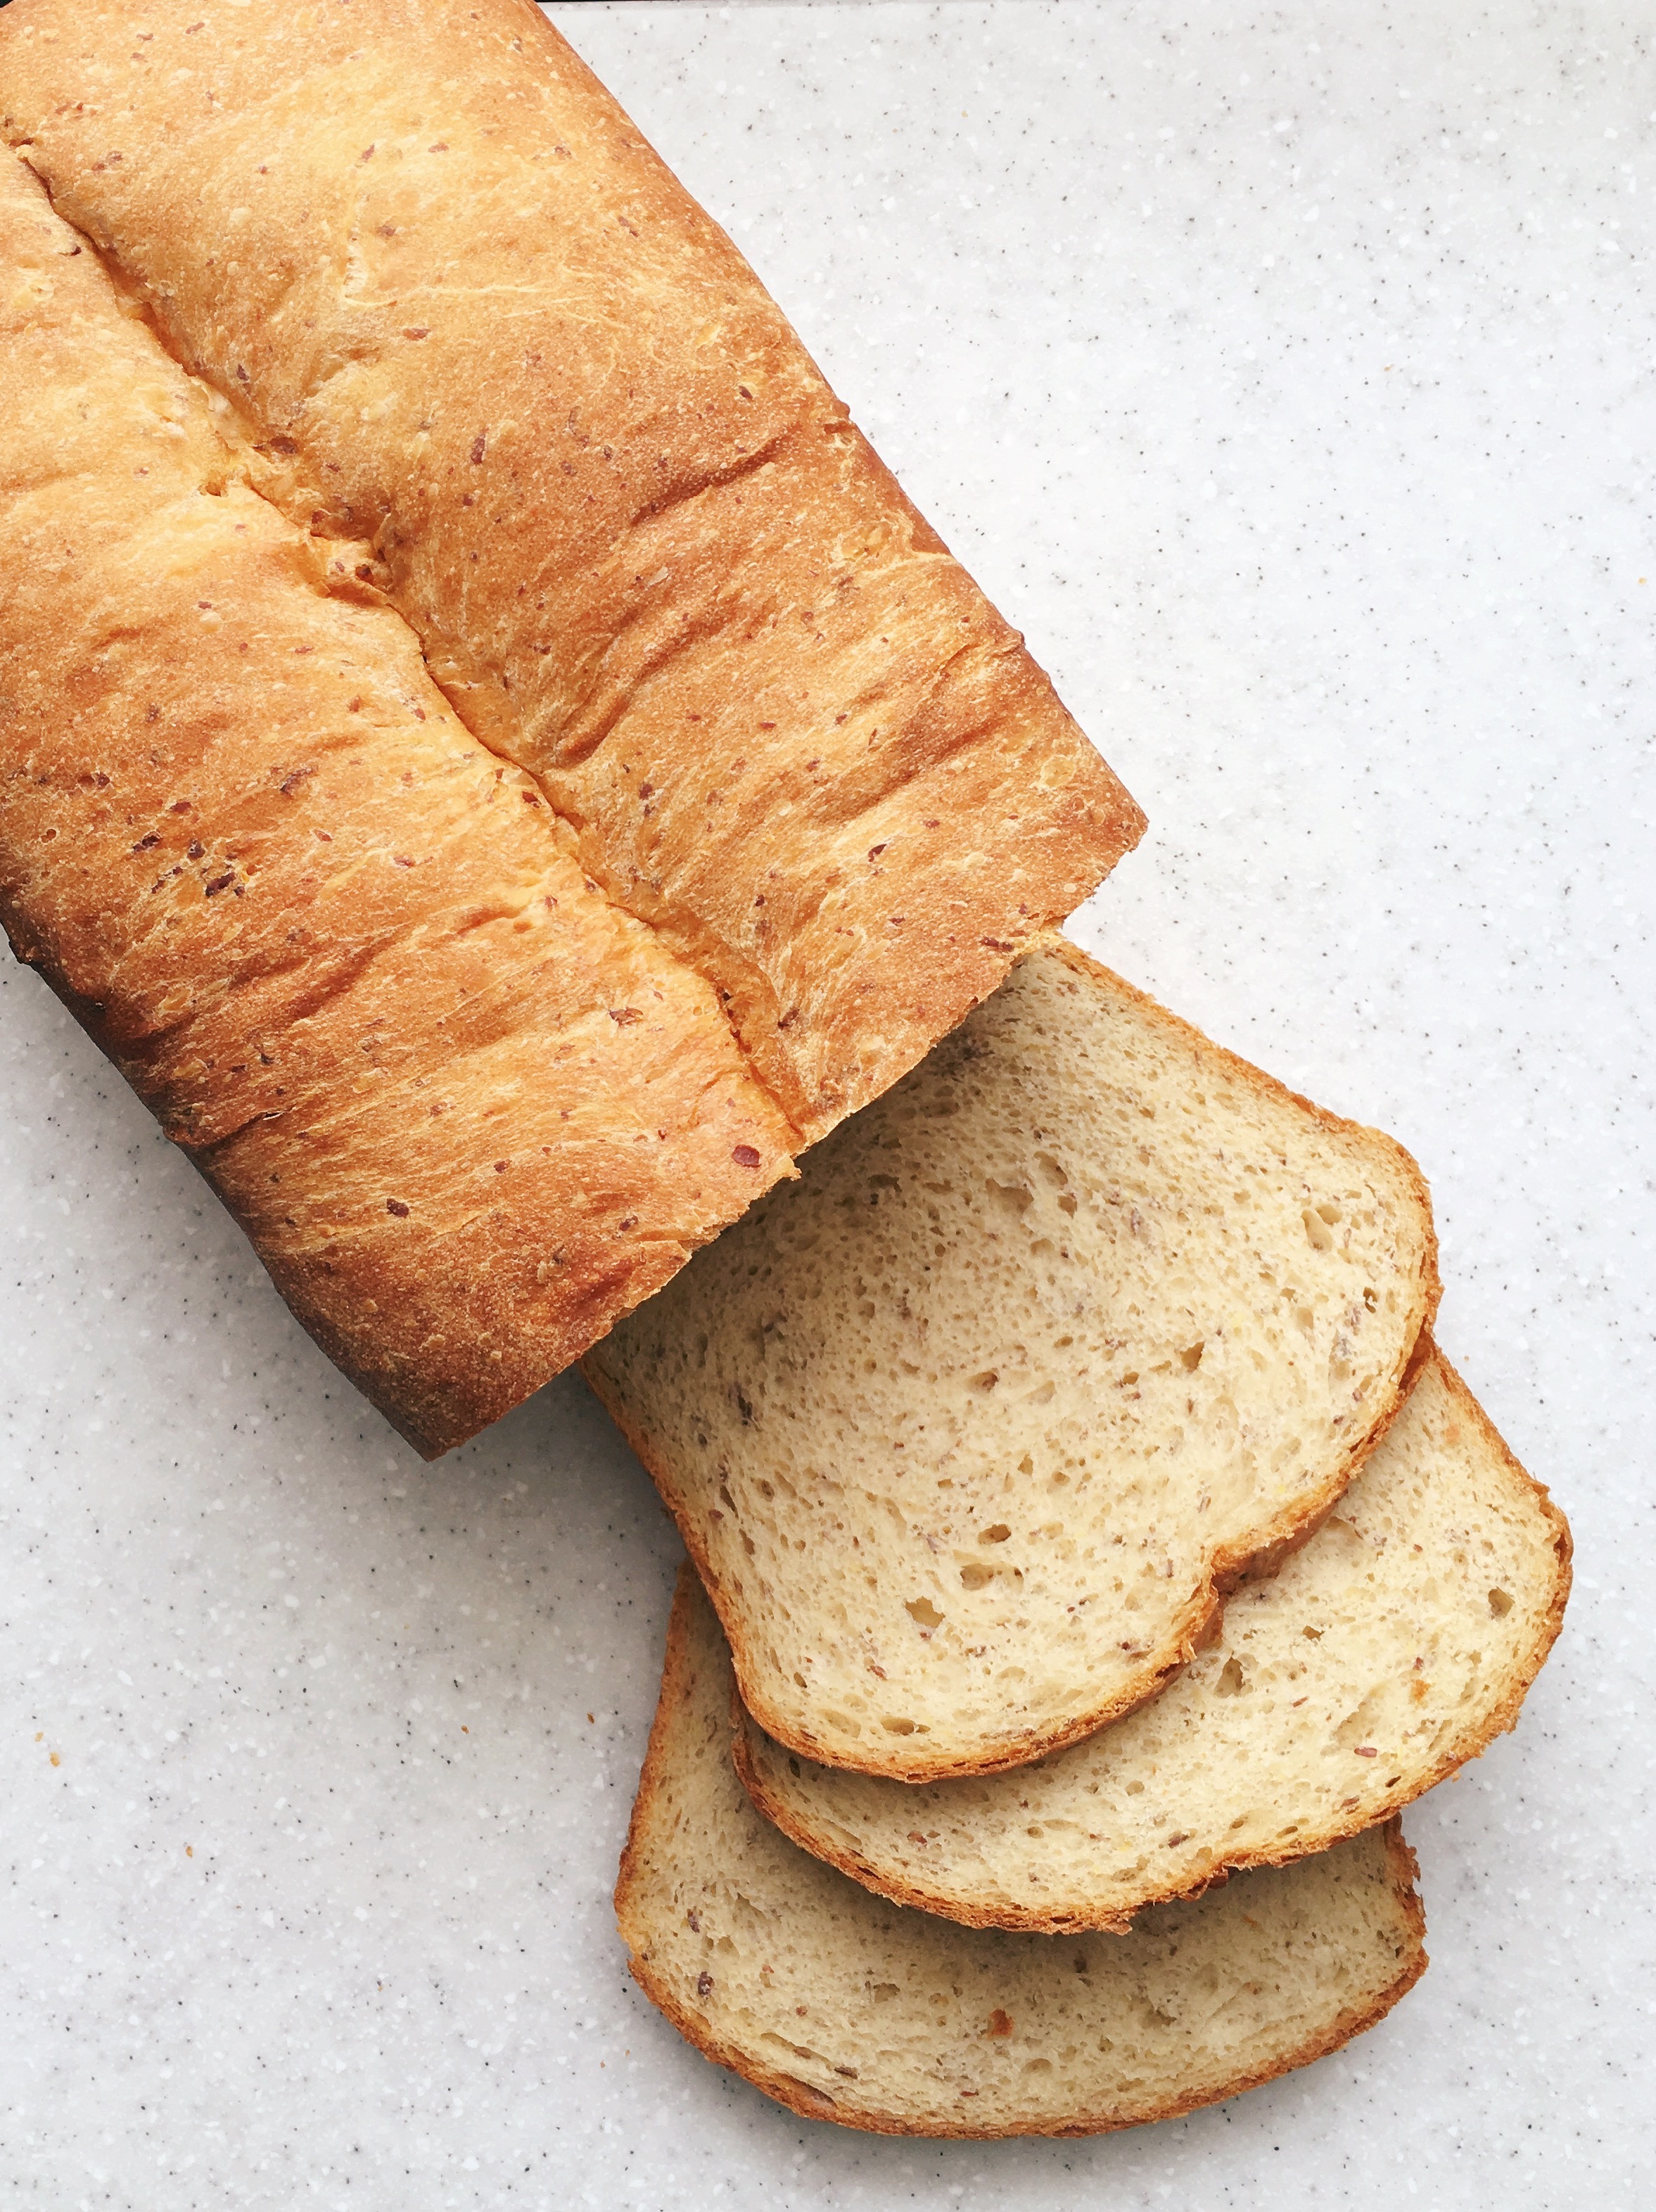
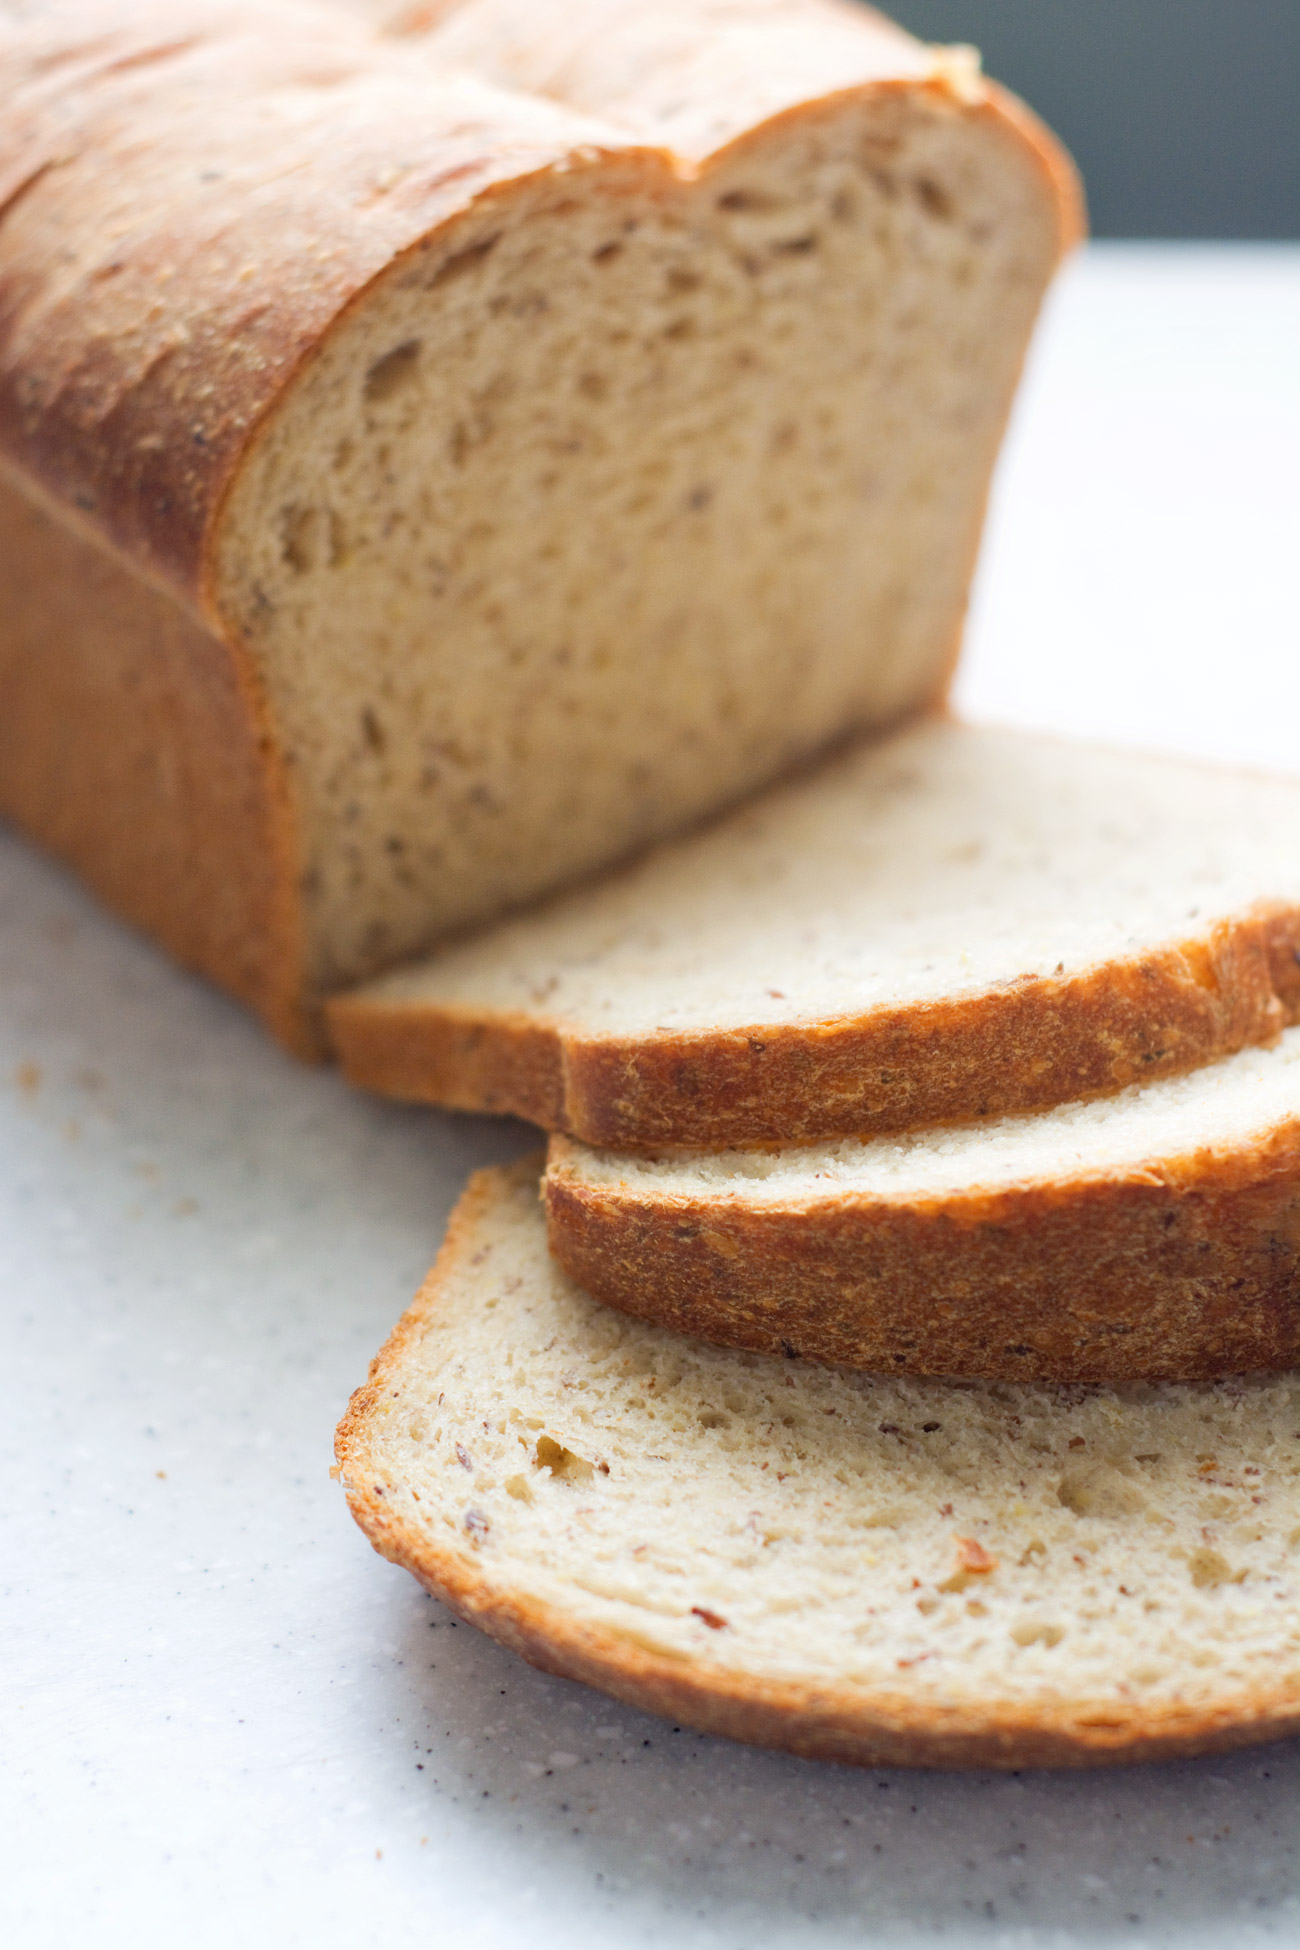
This whole wheat sandwich bread is soft, nutty, and slightly sweet, making it perfect for any type of sandwich.
My little girl is starting school soon, so I’ve been saving ideas and recipes for her lunchbox. I’m sure we’ll use leftovers and some make-ahead things, like the grain salads she loves so much, but I’ve also got big plans for sandwiches. I know they’re simple, but I can’t resist a peanut butter and jelly on soft, homemade bread with my favorite strawberry jam. We’re also fans of peanut butter with banana, honey, and granola. And Nutella toast. Basically, we love bread.
I’ve made many loaves of bread, but this whole wheat sandwich bread uses a different method than other recipes I’ve tried. Unlike my go-to light wheat bread, this recipe uses a sponge, much like my favorite brioche loaf bread. This recipe also calls for soaking the whole wheat flour, softening it so that it doesn’t puncture and deflate the dough. Wheat germ is added to bump up the wheat flavor, and honey adds a touch of sweetness.
This whole wheat bread has a soft crumb, and a slightly sweet, nutty flavor. The recipe makes two loaves, so make this once and you’ll have an extra loaf ready to go. It also makes killer sandwiches, though if you’re anything like us, you’ll be eating it slice by slice with butter or jam until it disappears.
This bread requires several hours of downtime. Start it early in the day for same day baking, or start it on a Friday night to bake Saturday. You’ll start the week with two loaves of fresh homemade bread, and that’s always a good thing.
- COOK TIME:
- YIELD: 2 loaves
For the soaker:
3 cups whole wheat flour
2 cups whole milk
½ cup toasted wheat germ
For the sponge:
2 cups bread flour
1 cup water, room temperature
½ teaspoon instant or rapid-rise yeast
For the dough:
6 tablespoons unsalted butter, softened
¼ cup honey
2 tablespoons instant or rapid-rise yeast
2 tablespoons vegetable oil
4 teaspoons salt
The soaker needs at least 8 hours to soak, so keep that in mind before starting this recipe. You can make it up to 24 hours in advance, so this a good recipe to split over two days. Make the soaker and sponge the night before and finish the bread the next day.
- 1
Start by making the soaker. Stir all ingredients together in a large bowl with a wooden spoon until a shaggy mass forms. Transfer the dough to a lightly floured counter and knead by hand until the dough is smooth, just a few minutes. Return dough to the bowl and cover tightly with plastic wrap. Refrigerate for at least 8 hours or up to 24.
- 2
Next, make the sponge. Combine all the ingredients in a large bowl and stir with a wooden spoon until well combined. Cover tightly with plastic wrap and allow to sit at room temperature until the sponge rises and starts to collapse, about 6 hours. You can leave the sponge at room temperature up to 24 hours.
- 3
When it’s time to make the dough, tear the soaker into 1-inch pieces and place in the bowl of a stand mixer fitted with the dough hook. Add sponge, butter, honey, yeast, oil and salt. Mix on low speed until the dough starts to come together, about 2 minutes, scraping down the bowl as needed. Increase speed to medium-low and knead until the dough is smooth and elastic and easily clears the sides of the bowl, about 8 minutes.
Transfer dough to a lightly greased large bowl or container, cover tightly with plastic and let rise for 45 minutes.
- 4
Gently lift the dough and fold one edge over itself toward the middle. Turn the bowl 45 degrees and fold again, repeating this process 6 more times for a total of 8 folds. Recover and let rise until nearly doubled, 30-60 minutes.
- 5
Grease two 8½ by 4½-inch loaf pans. Press down on the dough to deflate, then transfer to a lightly floured counter. Divide in half and cover loosely with greased plastic wrap. Working one at a time, press and stretch the dough into an 8 by 6-inch rectangle with the long side parallel to the edge of the counter.
- 6
Roll the dough away from you into a tight cylinder, tucking it under itself as you go to keep the dough taut. Pinch the seam closed and place seam side down into one of the prepared pans. Repeat with the second piece of dough. Cover loosely with greased plastic and rise until the dough is 1 inch above the lip of the pans, 1 to 1½ hours. The dough should spring back minimally when poked with your knuckle.
If using a 9 by 5-inch loaf pan, you’ll need another 20 to 30 minutes for this step.
- 7
Place oven rack in the lower-middle position and heat oven to 350º. Using a sharp paring knife or razor blade, make one ¼-inch deep slash in each loaf. Move swiftly and confidently along the top of the loaf, starting and stopping about ½-inch from the ends.
- 8
Mist loaves with water and bake until deep golden brown and loaves register 205 to 210 degrees, 40-45 minutes, rotating the pans halfway through baking. If using a 9 by 5-inch loaf pan, check for doneness after 30 minutes. Cool in pans for 15 minutes, then remove loaves from the pans and cool on a cooling rack for another 3 hours (if you can wait that long; we never can) before slicing.


I’ve been making homemade pizza every week lately, but it has been WAY too long since I’ve made bread. What a gorgeous loaf! And gotta love that it makes two loaves. For all that hard work/waiting time you deserve an extra one!
Thank you! And yes, making two loaves at once is a total win!
Hi there! I love this blog! Unfortunately, I’m a bit confounded by this recipe, I scaled it back to half the original, since I only have one loaf pan, and the proportions feel VERY off to me: 3 cups of liquid to 5 cups of flour? Or for the half recipe, 2 1/2 cups of flour to 1 1/2 cups of liquid? The dough never cleared the bowl, and I did add a few handfuls of extra flour while kneading. I don’t mind working with a wet dough–I’ll just use the shaping techniques I use for my sourdough–but I’m wondering if there’s a step with some more flour that’s missing? Also, tablespoon of yeast per loaf seems like a lot. I’ve made lots of breads that have whole grains that are still only using 1 tsp or a bit more of yeast. If you use less yeast and just increase the rise time, will that work just as well?
Thanks for the yummy recipes! I tried the light whole wheat loaf last week and loved it; my next one is the brioche!
I agree the yeast amount seems high compared to other recipes I’ve tried, but I think it may be to give extra heft to the heavier, more dense whole wheat flour since this recipe also uses more of it (it’s a 60/40 ratio whole wheat to white flour). I have made this quite a few times and didn’t think it was wet, definitely not like the dough for sourdough. The soaker is fairly dry, and the sponge is on the wetter side. When they’re combined in step three, the resulting dough is soft but not wet. I’m not sure about using less yeast since I haven’t tried it with this recipe, but I think a longer rising time is a good starting point. Glad you liked the other wheat bread, and that brioche is insanely good. Make sure you save some for French toast if you can! And please let me know if you try this one again.
I did decrease the yeast, and increase the rise time, and it still rose much faster than I expected in its final proofing. But the results were absolutely delicious–I will definitely be making this one again! But first, the brioche–and I will report back on that one as well. I’ve been looking for a good brioche recipe, since the last time I made it it was delicious but the recipe was approximately 3 pages long!