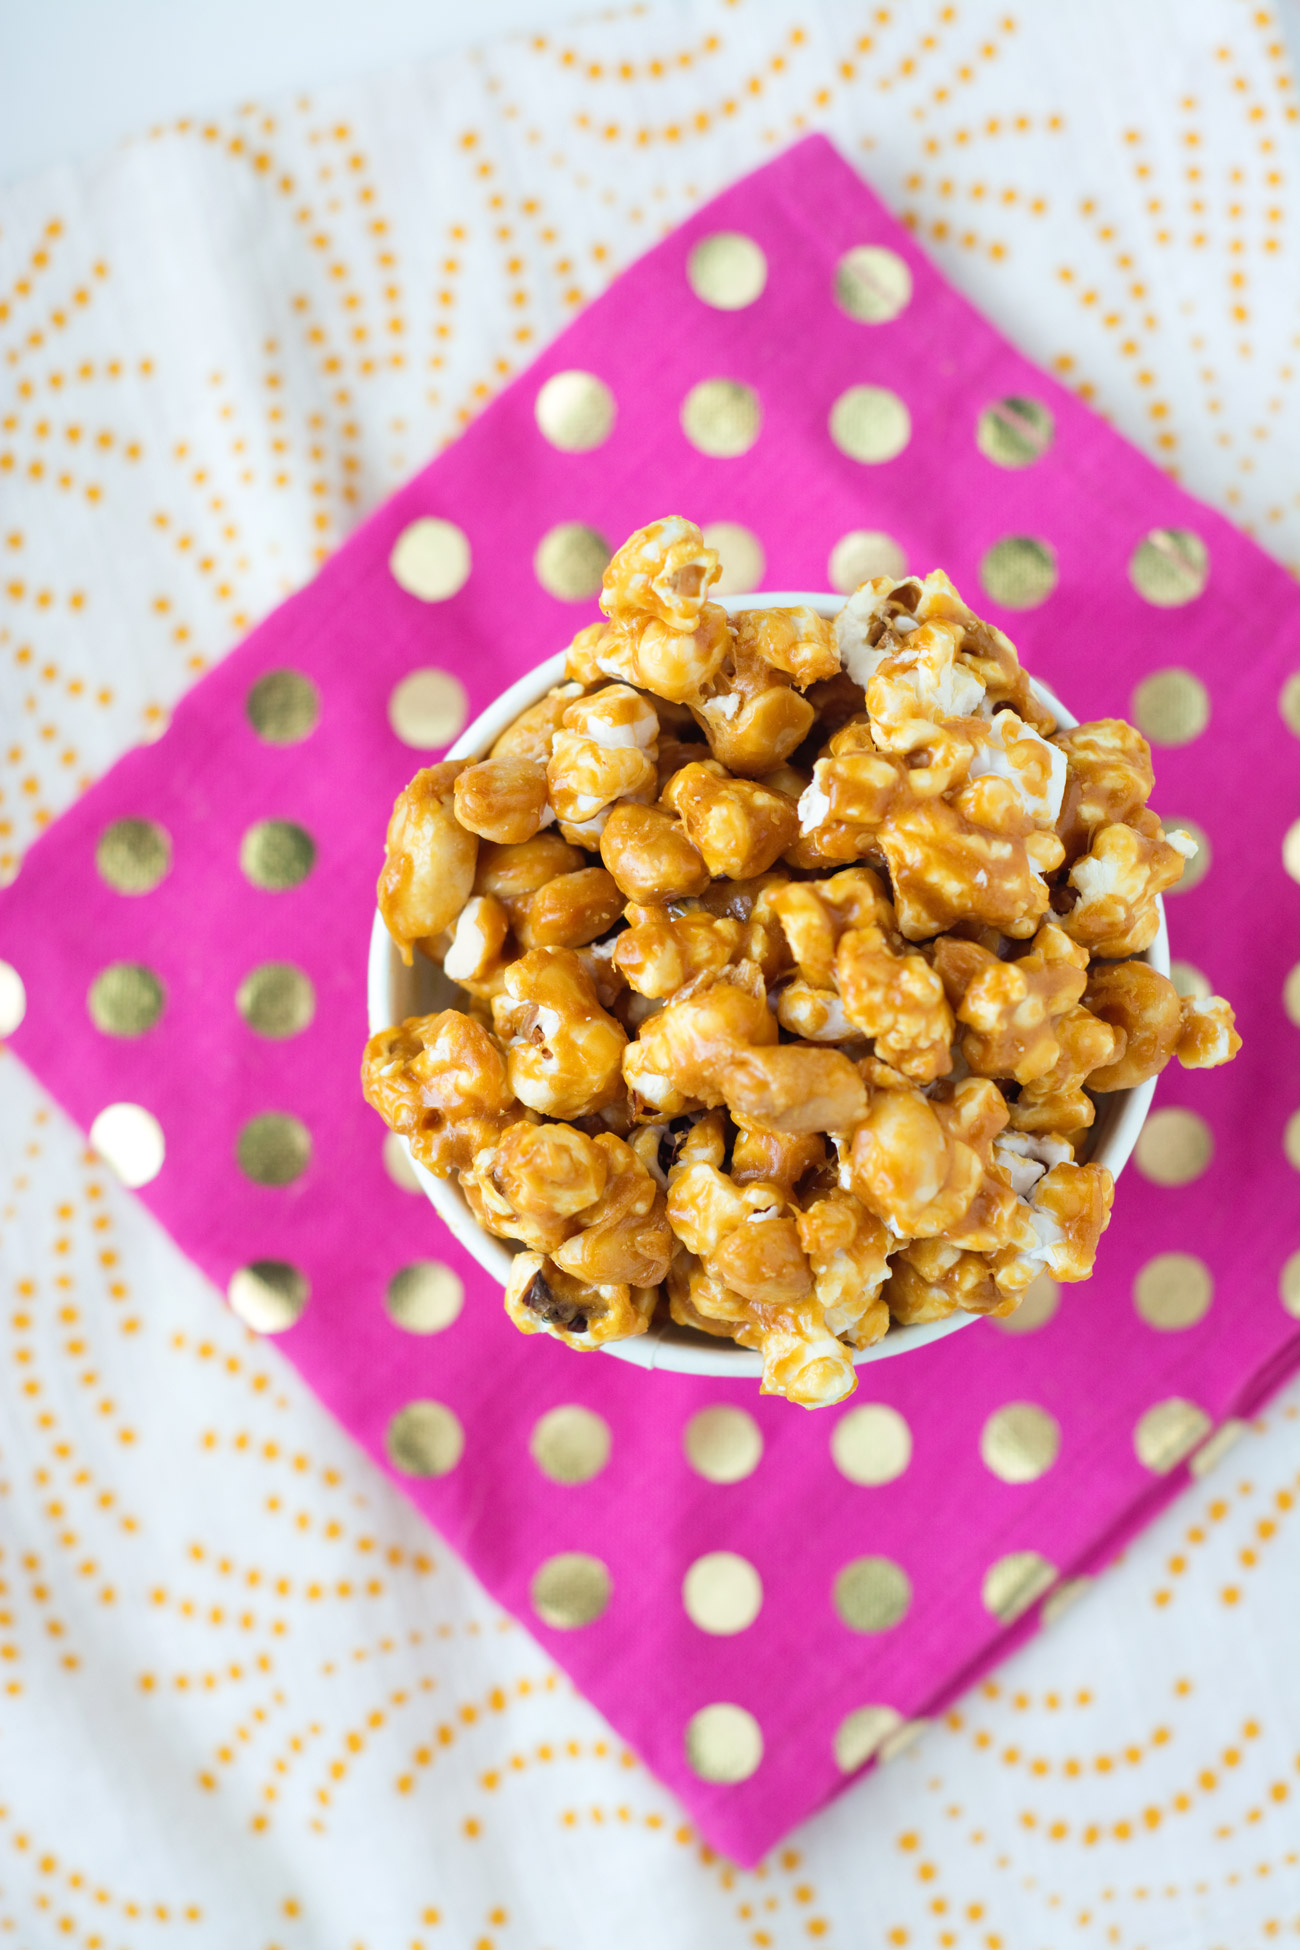
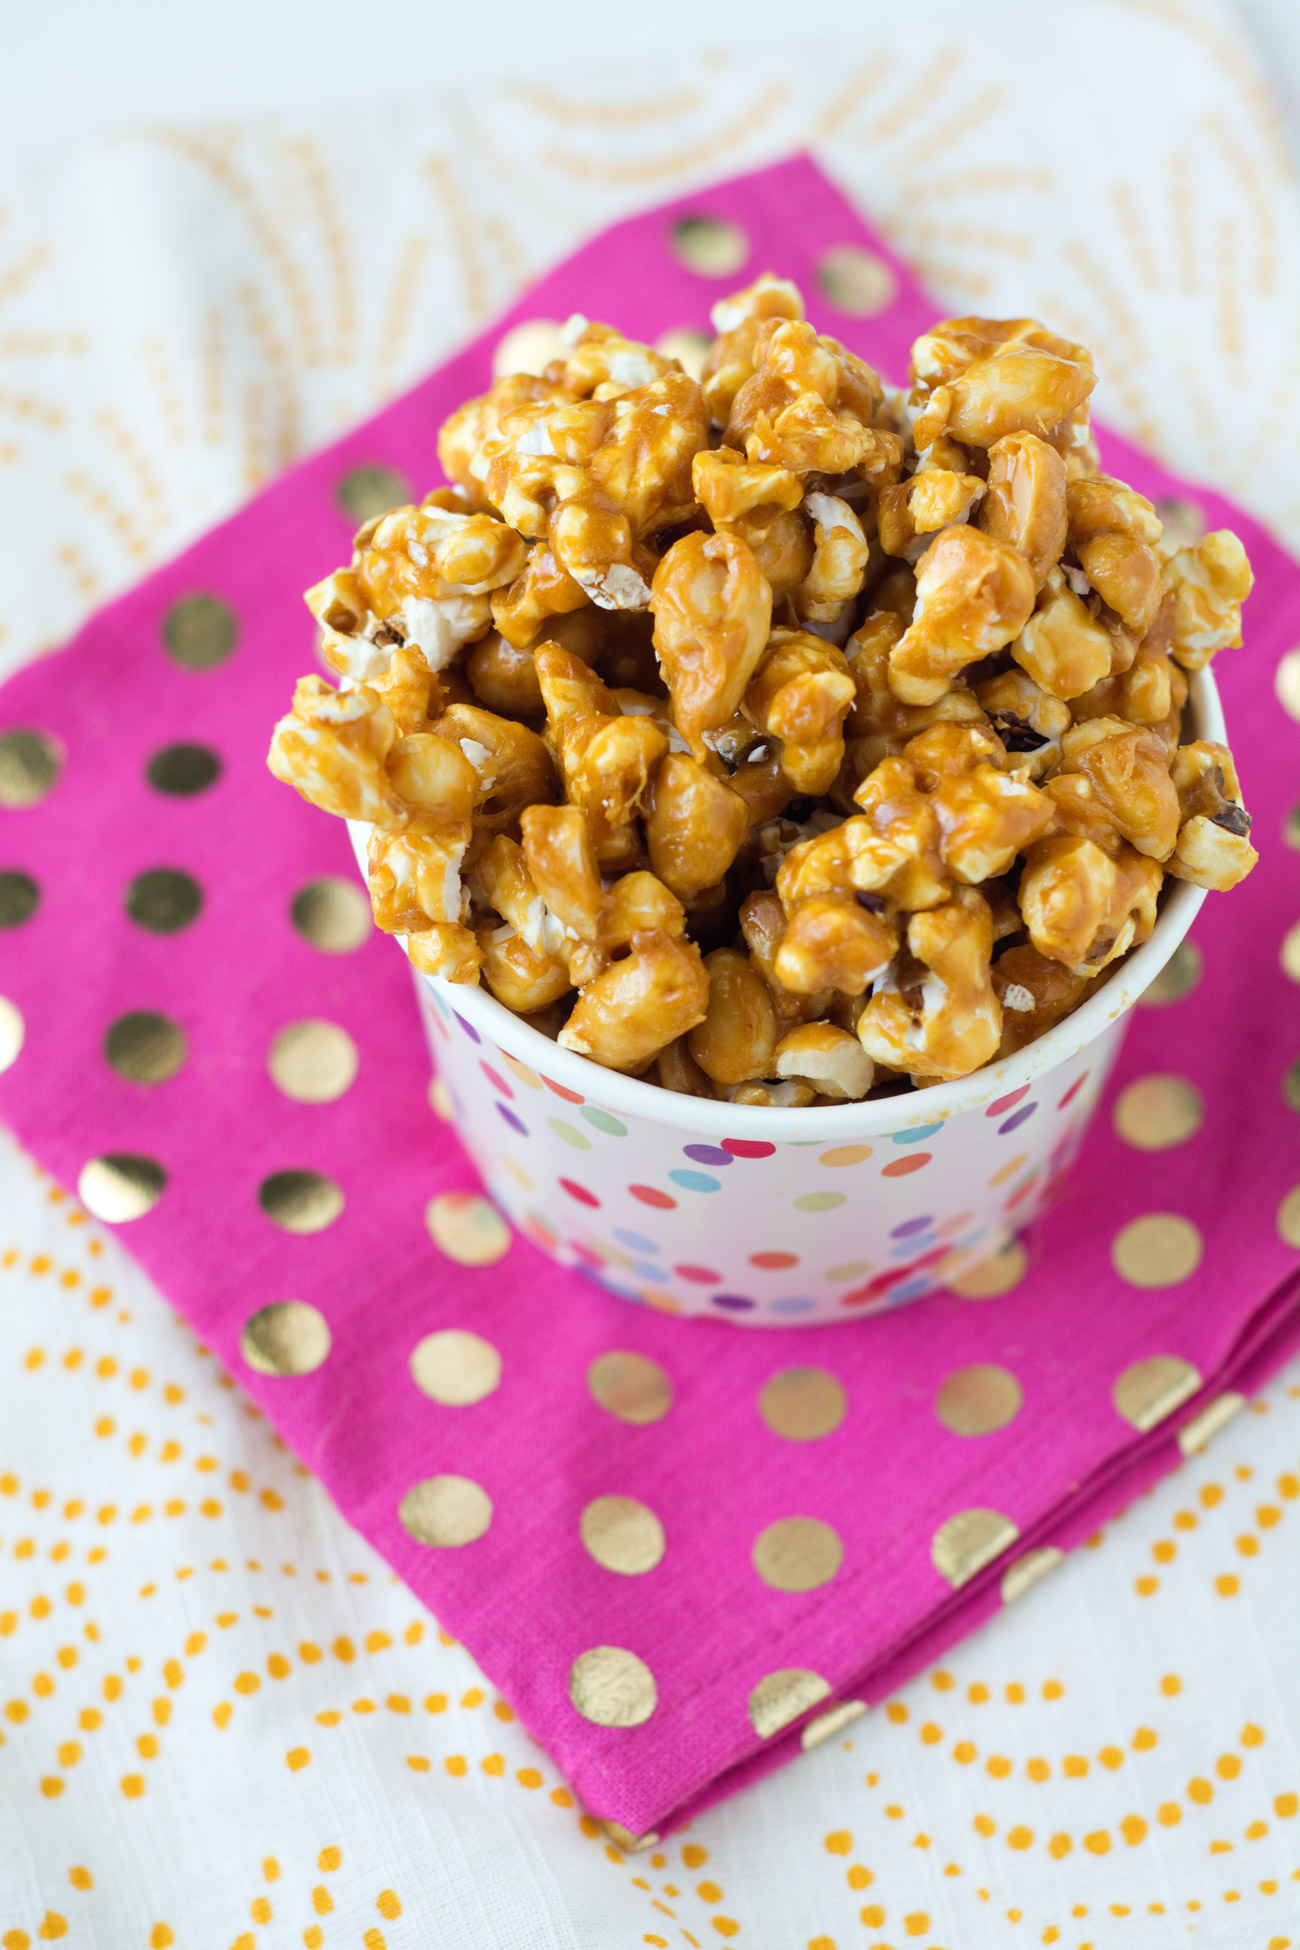
Caramel Popcorn
I realized, just yesterday, that Halloween is two weeks away. Did fall sneak up on anyone else, or is it just my perpetual lack of sleep catching up with me? I feel like I blinked, and then summer was over. All of a sudden, we’re going to the farmers market wearing hoodies and seeing pumpkins everywhere we go.
While today’s recipe is especially perfect for this time of year, I’m pretty sure there’s no wrong time for caramel corn. I wasn’t a fan of caramel corn until the past few years. I disliked it so much growing up, probably because my only exposure to it was those big tins of popcorn that come out around Christmas time. Does anyone remember those? I love popcorn, and I love caramel, so in theory I should love caramel popcorn. It turns out I do, at least when it’s made fresh with real caramel.
I made this batch of caramel corn to take with me to my postpartum checkup. I included some other goodies (jam, these brownies, and cookies) for my midwife and labor nurse. Making the caramel corn was mildly disastrous, but it was only because I was tired, in a hurry, and ended up with two crying kiddos (one of whom was asleep when I started) just as the caramel finished cooking. I burned the first batch of caramel, something I haven’t done in almost ten years. I was so upset, and of course I didn’t have enough ingredients to make another batch. Eric, being the awesome husband that he is, got what I needed that night so that I could make another batch. I made sure to wait until Clara and Leo were both sound asleep before starting the caramel. That batch was a success, and I took it with me to my appointment the next day. A few sweets hardly seemed like enough to thank them, but after the amazing experience I had, it was important to me to try.
Some recipes for caramel corn call for the popcorn to be coated in caramel and then baked at a low temperature until it hardens. I preferred this method, which cooks the caramel longer but doesn’t require baking to get that crunchy coating. This caramel corn is perfect and so insanely delicious. For me, there’s none that compares. I’m planning to make more to share with neighbors for Halloween, but my craving for it is so strong that I may be making some before then, too.
- YIELD: 4 quarts
Cooking spray
½ cup water
1 cup + 2 tablespoons granulated sugar
½ cup + 1½ tablespoons light brown sugar, lightly packed
¼ cup + 1 tablespoon light corn syrup
5 tablespoons unsalted butter, at room temperature
1½ cup salted peanuts, Spanish if possible
10 cups popped popcorn
2 teaspoons baking soda
1 tablespoon + 1¼ teaspoons Kosher salt
This recipe calls for heatproof gloves, and I’m guessing most of you, like me, do not own any. I used my hands to break up the clumps of hot, caramel-coated popcorn. A spatula would work, too, but I managed to do this without burning myself. Do what you’re comfortable with. Placing the mixing bowl into the oven helps the caramel stay warm while you’re tossing the popcorn.
- 1
Heat oven to 350º. Lightly oil two sheet pans or line each with parchment or a nonstick baking mat. Place a kitchen towel on your work surface. Lightly mist two spatulas with cooking spray.
Place the metal bowl into the oven while you make the caramel.
- 2
Combine the water, sugars, corn syrup and butter in a large saucepan set over medium-high heat. Cook, stirring to dissolve the sugar, until the mixture reaches 270ºF. It will bubble considerably.
While the syrup is cooking, remove the bowl from the oven. Spread the peanuts on a small sheet pan and place in the oven. Spray the mixing bowl with cooking spray and place onto the towel. Pour most of the popcorn, about 8 cups, into the mixing bowl. Make a well in the center.
- 3
When the caramel reaches 300ºF, remove from heat and immediately stir in the baking soda and salt, taking care as the caramel will foam up. Remove the peanuts from the oven and toss into the caramel. Immediately pour the caramel into the well and over the popcorn in the mixing bowl, avoiding the sides of the bowl as much as possible. Cover with the remaining popcorn.
Using the two spatulas, quickly toss the popcorn and caramel together, drawing the popcorn from the edges into the center. Continue to stir and toss to coat as much popcorn as possible.
- 4
Pour the hot mixture onto one of the prepared sheet pans. Using your hands, being extra careful because the mixture is quite hot, break up any of the larger clumps of popcorn. As you work, transfer half of the coated popcorn to the second sheet pan. Let the caramel popcorn set until cooled and hardened.
- 5
Store in a covered container at room temperature. Well-coated popcorn should remain fresh for about 3 days (if you don’t eat it all up before then).


I am so sad right now that I’ve never had real caramel corn! I feel like my salted caramel loving self has really been missing out!